DualSense Edge: Where software genius meets performance!
DualSense Edge: Where software genius meets performance!

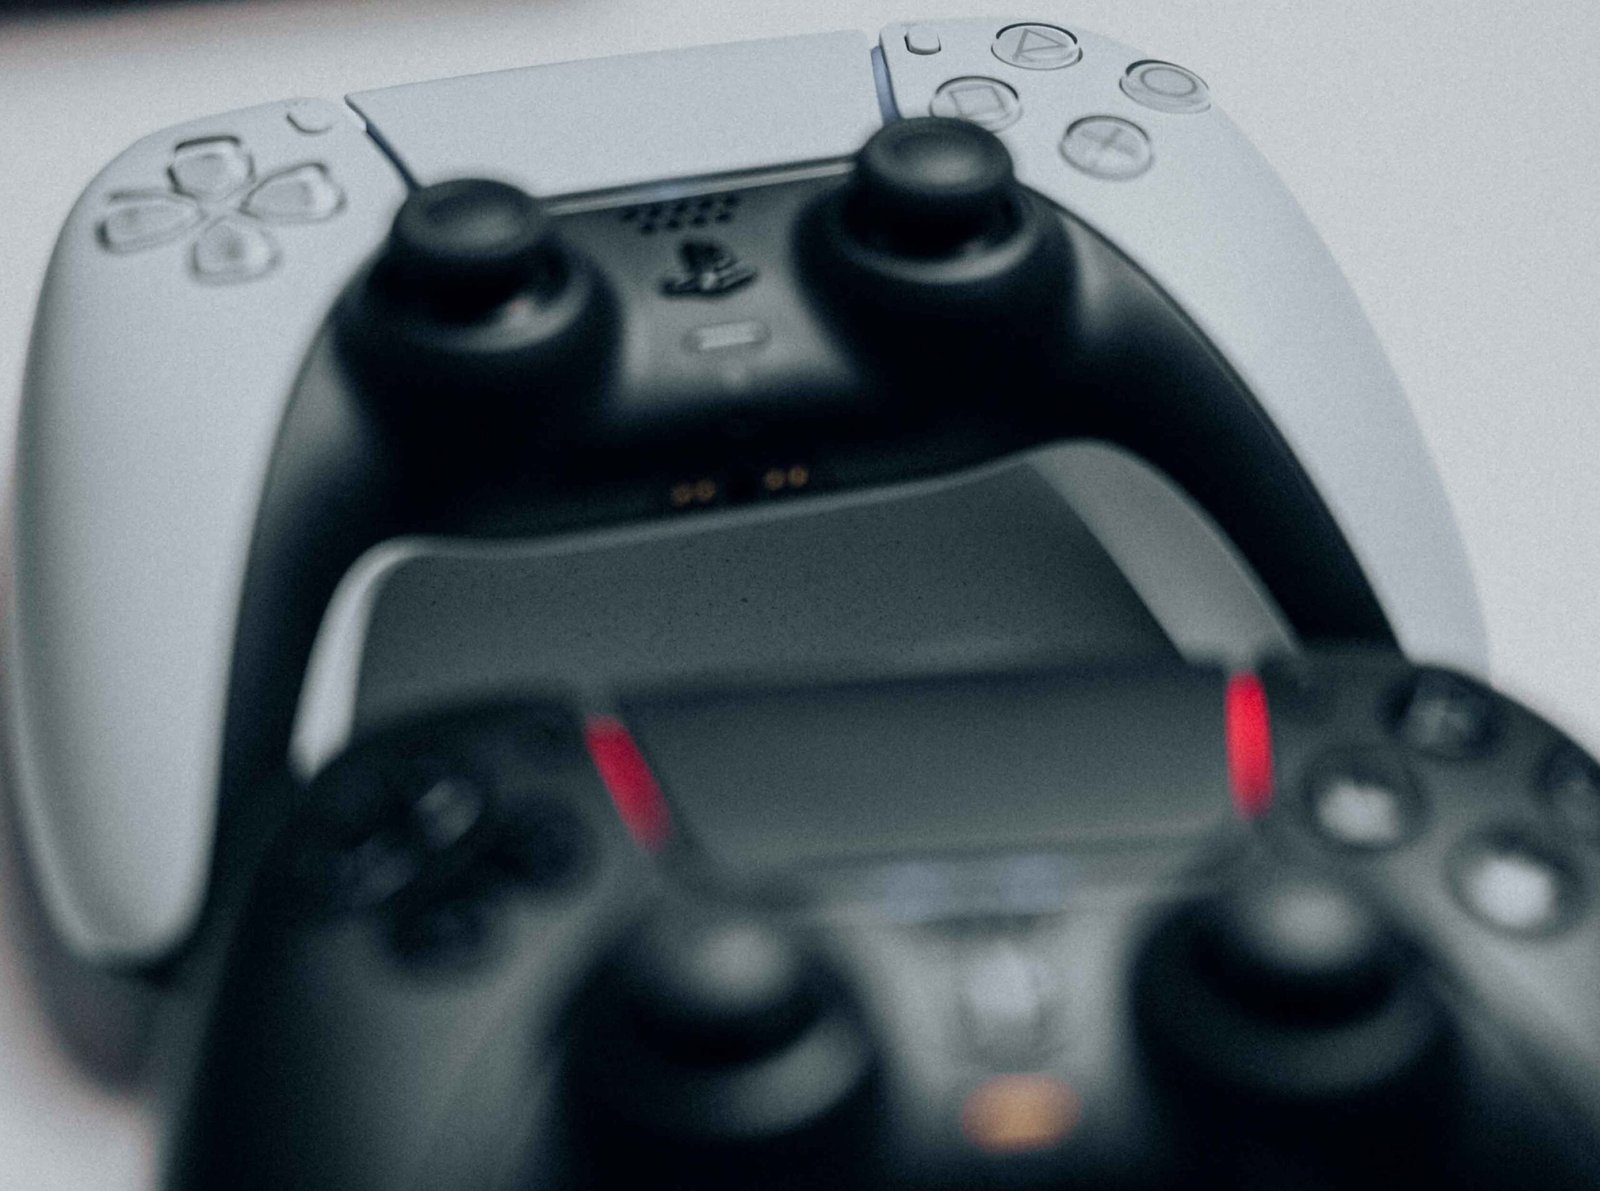
In recent weeks, the professional DualSense Edge arm has been prominent and interesting among gaming enthusiasts , especially PlayStation users. This flagship console from Sony has gamers raving about its exciting design, mesmerizing mechanics, unparalleled customization and ingenious software support. We received a DualSense Edge controller a few days ago, during which we tested the features and benefits of the arm, the most important of which is software support, and here we have dedicated a separate article to reveal the secrets of its amazing technologies. But if .
The genius of the DualSense Edge software is in making custom profiles available and editable!
When you connect the DualSense Edge to the PS5 platform,
you have the opportunity to go through an introduction to the basic features of the controller,
which is enough to introduce the list of functions well and help with the customization of the profile.
Each profile has a number of customizable options that are split across multiple customization sections.The first allows you to change the behavior of each arm button, including the Back buttons, knowing that changing these settings while playing doesn’t affect the button labels, so if a button comes up with a command, you’ll have to remember the location. from the new button, and the other allows adjusting the analog response field and its sensitivity. The third determines the response range of the trigger buttons, the fourth is specific to the strength of the haptic feedback vibration, and the fifth regulates its strength. triggering effect.
Profiles can be called up by pressing and holding the function button below Analog,
which displays a list on the screen containing 4 of these profiles, as well as the ability to edit any profile and adjust headphone and Audio Mix volume. ,
and you can add any unspecified profiles if you choose 4 basic profiles from which. As soon as you switch from one profile to another, the arm produces a small vibration pulse and an active profile change notification. This is a quick and effective method similar to Webon Loadout in a shooting game, but you can adjust or disable it. completely. Creating, editing, and switching profiles is smooth, and the DualSense Edge user interface is interactive and works well.
How are profiles created and their shortcuts used?
You can save analog sensitivity settings, button actions, vibration strength, etc. to custom profiles. This can be done by going to Settings, selecting Accessories, then selecting the DualSense Edge lever, pressing Custom Profiles, then creating and naming a custom profile that allows you to select any item to modify. User-created profiles appear in the Unassigned Profiles field, and when one is assigned, it moves to the Assigned Profiles field. The profile name can be changed, deleted or copied by highlighting it and selecting Add. it can also be edited when selected.
The wisdom of assigning profile hotkeys is that you can easily switch between them while playing and using them on other PS5 platforms.
Switching between the four profiles can be done by long pressing the function button on one of the four function buttons on the right,
knowing that the first profile associated with the triangle button is not adjustable.
To configure the shortcut,
go to Settings, select Utilities,
then select the DualSense Edge lever, then click the Unassigned Profiles box and select Assign next to the profile you want to assign,
select Customization, and it can be used as a profile.
Let’s dive together into the depths of an awesome software based on customizing and modifying control settings!
Sony has paid special attention to tailoring the DualSense arm to the user’s taste and playing style,
which was evident in the settings related to controlling
the analog sensitivity and its response field so that the player feels the effort of their movements.
in-game, in addition to the trigger button response field,
feel the trigger resistance of your finger in shooting games,
or brake your foot in Race games, and you’ll see what I mean next.

Analog settings:
and you can modify its settings with the directional buttons.
One of the joysticks must be selected before adjusting them, and there are many sensitivity curves that can be selected and the degree of curvature changed, since the x-axis represents pressure, while the y-axis represents the effect of pressure, in addition to the game, in the so-called Deadzone, the response field of the stick, after which its tilt is calculated . As for the types of sensitivity curves, they are:
- Fast: Speeds up movement when you tilt the stick to suit fast-paced shooters.
- Exact: Makes even the smallest movement with the largest tilt for games that require precision,
such as using snipers in shooting games.
- Flat: It determines movement even when the stick is tilted the farthest,
which is good for games that require smooth movement, such as exploration games.
- Digital: It creates the most movement with the slightest tilt and is suitable for fighting games.
- Dynamic: Achieves limited movement regardless of whether the stick is tilted the least or most,
but achieves the most movement at medium tilt,
which is essential in shooting games with a variety of movements such as fast running and precise aiming.
Trigger settings:
You can control the settings of Triggers by creating or editing a profile and choosing a
Trigger Deadzone area that allows the sensitivity of the button with a start and end number,
for example if you set the start number to 30 and the end number to 70 ,
which means that the pressure will not be counted below 30 and above 70 and
the settings can be matched One button is the same as another, and these settings can also be tested.


One Comment